
The Secret to Crafting a Stunning Charcuterie Spread: Add variety to your Meat & Cheese display
- curatedgrazingco
- Jun 6, 2025
- 5 min read
Updated: Jan 17
A charcuterie board isn't just about delicious flavors; it's an edible art piece. Putting a spread together is a way to enter a creative Flow State. The way you slice, fold, and arrange your ingredients can transform a casual spread into a truly impressive display. Don't just throw everything on a platter – take a few minutes to master these simple techniques that will make your next gathering unforgettable. You want your guests to enter the room and immediately say, "Wow, did you put this together?".

I'll tell you a secret... the trick to a visually captivating charcuterie board lies in diversity of presentation. By varying your cuts and folds, you add texture, height, and visual interest, inviting guests to explore every delicious corner, even if the ingredients don't actually vary that much!
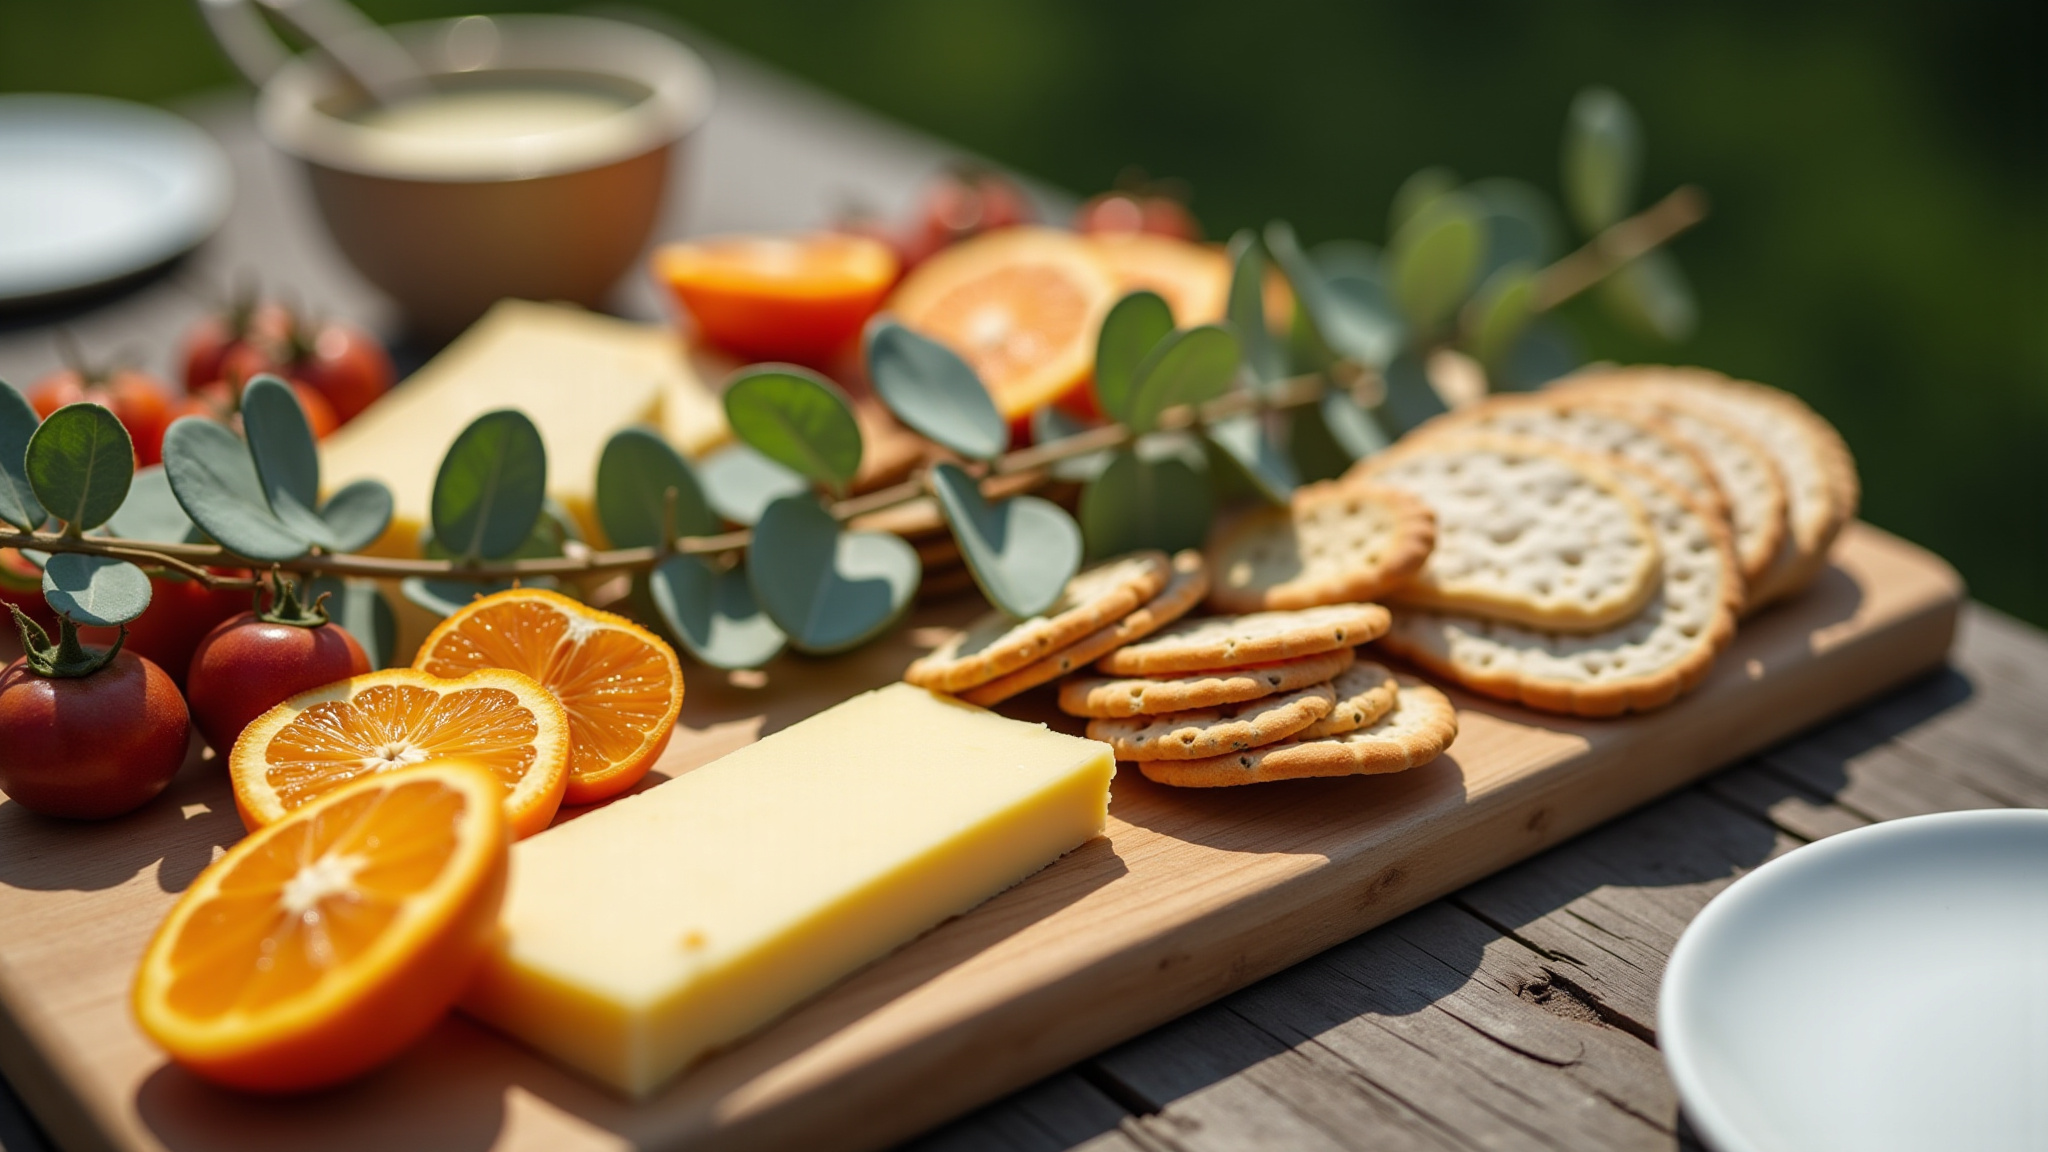
Pro tip: As beautiful as full, uncut wedges of cheese are, they are a bit impractical for your guests to dive into and often just serve as expensive decor. Imagine you have a plate in one hand, a knife cutting through a sticky cheese in the other. The cheese isn't cutting cleanly and its being dragged across the board because it is stuck to the knife. It's knocking the surrounding ingredients out of their place and making a mess. It never works out well. Do your guests a favor, prep the dang cheese!
The Art of Cheese Cutting: 5 Ways to Impress
Different cheeses call for different cutting methods to best showcase their texture and make them easy to enjoy. Check out our videos of how to prep cheese to get more of a visual for each method.
Simple Slices
How to do it: Simply cut uniform slices, typically about 1/8 to 1/4 inch thick.
Display: Stack them in a fun pile, fan them out around a bowl of dip, or create a train of slightly overlapped slices to trail across the board.
Best for: Semi-hard to hard cheeses that hold their shape well, (like firm cheddar, Gruyère, or aged Gouda) making them easy to pick up and place on a cracker.

Triangles
How to do it: Starting with a pre-cut wedge (or a portion of a larger block), cut thin slices through the center of the wedge into manageable triangles.
Display: Alternate the triangle direction when stacking to create a fun geometric shape. Or, take 3-4 triangles, fan them out and place them somewhere fun where they either lay flat or stick straight up.
Best for: Wedge cheeses like Parmesan, Manchego, or aged Gouda, which naturally lend themselves to this shape. They offer a rustic yet refined look.

Wedges
How to do it: First, cut the round wedge directly in half, then quarters and create your desired wedge size from each of the quarters. For smaller rounds like Brie or Camembert, you can cut them into 4 or 8 equal wedges, radiating from the center. For larger rounds, you might cut a larger wedge and then slice that wedge further into more bite-sized pieces.
Display: For smaller rounds, keep them in their original shape and fan the wedges out to lay on their side, creating a flower like shape. Or, create a trail with slightly overlapped wedges.
Best for: Round cheeses like Brie, Camembert, or even smaller, crumbly blue cheeses. This traditional cut is perfect for showcasing the cheese's rind and creamy interior.

Crumbles
How to do it: Use a small knife, spoon or your hands to gently break off irregular pieces from a larger block or wheel. Aim for varied sizes to add texture.
Display: Keep these all in a stack. The various sizes add the texture and fun look you are after without much effort.
Best for: Softer, often oily or crumbly cheeses like Feta, Merlot, or Goat Cheese. Crumbles add a rustic, inviting look and are often easy to spread or sprinkle.

Cubes
How to do it: Take a block of cheese and cut it into even, bite-sized cubes, typically around 1/2 to 3/4 inch.
Display: Place them into smaller piles scattered around the board.
Best for: Softer cheeses that hold their shape well, such as mild cheddar, Monterey Jack, or Havarti. Cubes are incredibly easy for guests to grab and are great for stacking.

Mastering Cured Meat Presentation: 5 Ways to Fold & Roll
Cured meats offer incredible flexibility for presentation, allowing you to create height, texture, and visual intrigue. Check out our videos of how to prep meat to get more of a visual for each method.
The Fold
How to do it: Take a single slice of meat and fold it in half. Repeat this and start to stack the fold on top of the last.
Display: Either lay them out flat, slightly overlapping each one over the last, or, create a long stack and place them with the outside edges of the meat facing up. You'll need to bookend the stack between two larger things on the board in order for the meats to stay upright.
Best for: Salami slices, especially those with visible seasoning or marbled fat on the edges. This showcases the color and texture, making them easy to pick up. Arrange them in neat rows or overlapping patterns.

Simple Slices
How to do it: Use a sharp knife to cut uniform, thin rounds, usually 1/8 to 1/4 inch thick.
Display: Consider cutting angled slices to create a more interesting look. I like leaving part of the sausage uncut to use as edible decor.
Best for: Cured sausage links, like chorizo or a dry salami. This classic presentation allows the intricate patterns and textures of the sausage to shine. Arrange them shingled or in neat stacks.

Quarter Fold
How to do it: Similar to the simple fold, but intended for larger, perhaps slightly thiner slices of cured meat. Fold the slice in half once, then fold in half again, stacking each one on top of the last.
Display: Same options as the fold above.
Best for: Sliced meats that can handle a double fold without cracking, such as some larger diameter salamis or coppa. This adds volume and a substantial feel.

The Roll
How to do it: Take a single slice of meat, and simply roll it up tightly or loosely, depending on the desired effect.
Display: Create a stack with the top layers seeming to slide off of the bottom, creating a nice slope look or mimicking the shape of a flower bouquet.
Best for: Sliced meats that have a wider diameter and are pliable enough to better hold the shape without unrolling, such as prosciutto, coppa, or culatello. Rolls create elegant height and are easy to grab.

The Rose
How to do it: Using a small, narrow cup, start by layering one slice at a time around the inside edges, overlapping each slice by 50%. Continue this process around the rim until it is 2/3's full. To make the center of the rose, lay down 4 to 5 slices in a row on the table, again overlapping each slice by 50%. as a group, fold the row in half hotdog style and then roll it up. Place this part in the center of your cup to fill in the center space.
Display: Speaks for its self.
Best for: Meats that are thinner and flexible and can hold a more aggressive, intricate shape, like salami, bresaola, or capicola. The rose is a beautiful centerpiece that adds a touch of gourmet elegance.

The Power of Diversity
As you arrange your board, remember to mix and match these techniques. Place cubes of cheddar next to fanned slices of Brie. Intermingle coppa rolls with beautiful salami roses. This variety isn't just aesthetically pleasing; it also encourages guests to try different combinations and textures, making your charcuterie board an interactive and memorable experience.
With these simple techniques, you're not just serving food; you're crafting an experience.
For more Board Inspiration and prep tips, follow us on Instagram @CuratedGrazingCo
Check out our product offerings including catered grazing tables and to-go charcuterie boards here.


Comments